 VideoAnalyzerAI
How to Recreate an AI Video From a Reference Video
You see an AI-generated video online. The camera movement is perfect. The lighting feels cinematic. It's getting engagement. The composition looks intentional. And you think: “How can I make something like this?”
How to Recreate an AI Video From a Reference Video
You see an AI-generated video online.
The camera movement is perfect.
The lighting feels cinematic.
It's getting engagement.
The composition looks intentional.
And you think:
“How can I make something like this?”
The obvious approach is to describe the video to an AI video generator and hope for a similar result.
Sometimes it works.
Usually, it doesn't.
That's because recreating a video isn't simply about describing what appears on screen. A video contains layers of information that unfold over time: subject movement, camera movement, framing, lighting, environment, pacing, visual style, transitions, and the relationship between all of them.
If you want to recreate a reference video successfully, you need to reverse-engineer the visual decisions behind it before trying to generate your own version.
This guide walks through that process step by step.
What Does AI Video Recreation Mean?
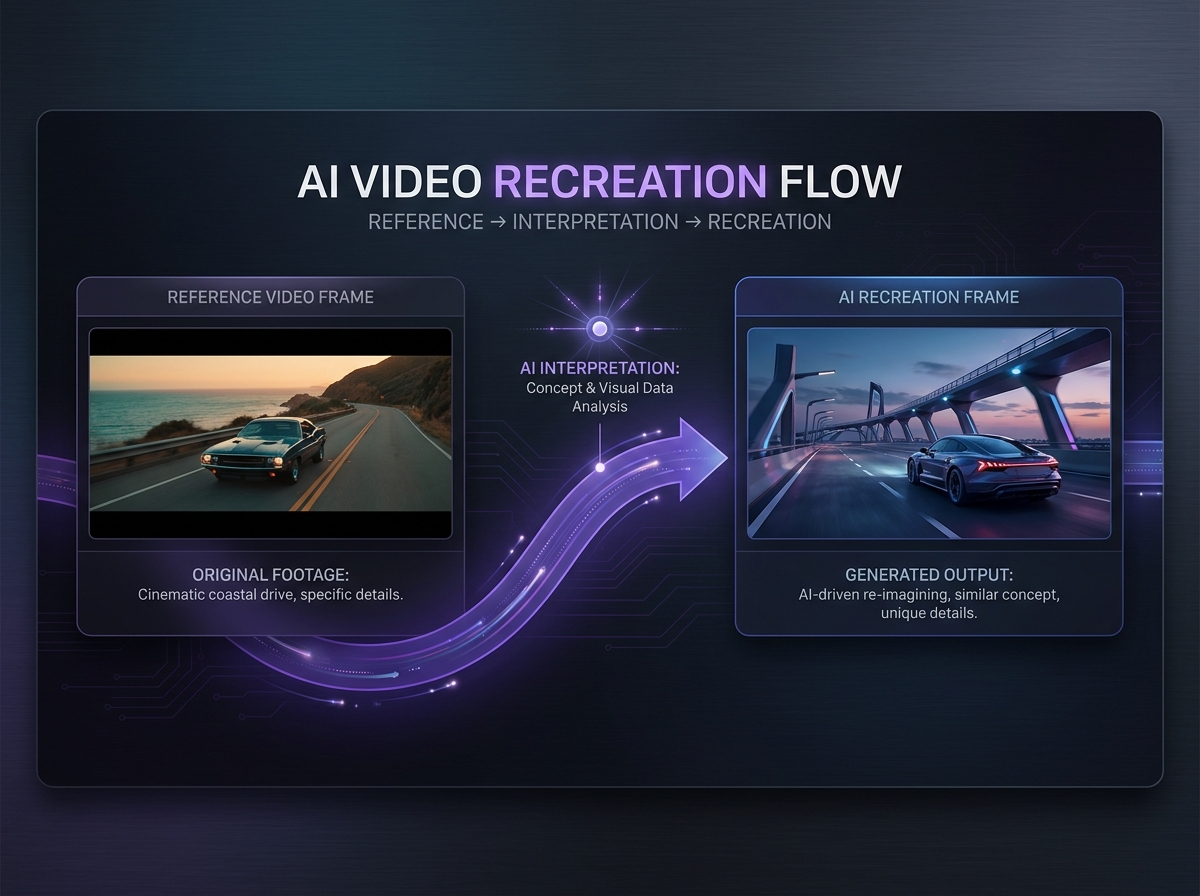
AI video recreation is the process of using artificial intelligence to create a new video based on the visual characteristics, structure, movement, or creative direction of an existing reference video.
The goal isn't necessarily to make an identical copy.
Instead, you might want to recreate:
the same type of camera movement
a similar composition
the same pacing
a similar lighting setup
a particular visual style
similar subject movement
the structure of multiple shots
the overall cinematic feel
For example, imagine you find a video showing a person walking through a futuristic city.
You don't necessarily want the same person or the exact same city.
You may want:
a person walking through a futuristic city, filmed with a slow tracking shot, neon lighting, shallow depth of field, atmospheric fog, and a cinematic science-fiction aesthetic.
The idea changes.
The visual language remains similar.
That's the foundation of effective AI video recreation.
Why Recreating a Reference Video Is Hard
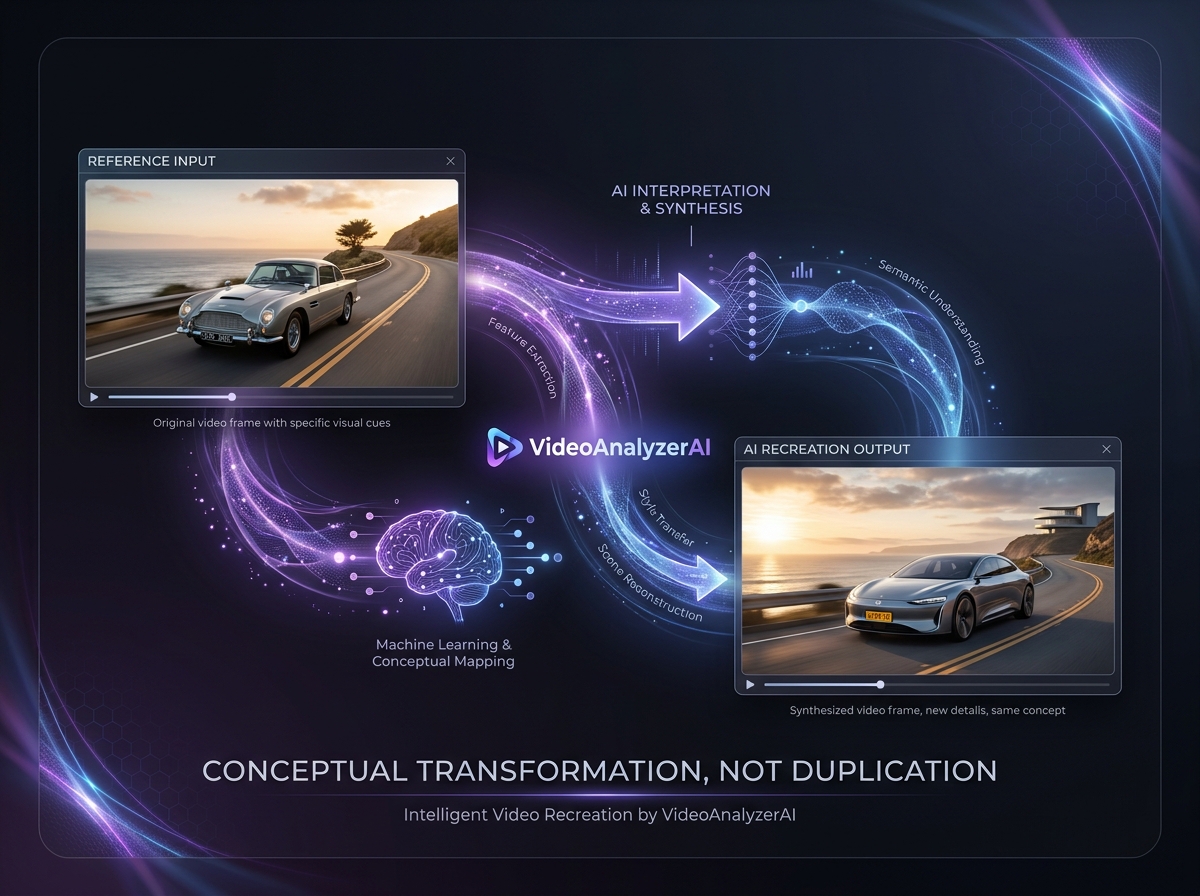
A common mistake is to watch a reference video once and immediately write a prompt.
You might write something like:
“A woman walking through a futuristic city at night, cinematic lighting, realistic.”
That's a reasonable description.
But it doesn't capture the actual structure of the reference.
What happens if the original video begins with a wide establishing shot?
Then moves into a medium shot?
Then the camera tracks alongside the subject?
Then pushes closer?
What if the lighting changes halfway through?
What if the subject turns toward the camera?
What if the final shot contains a slow camera pullback?
A single paragraph may describe the subject, but it doesn't necessarily describe the video.
A useful recreation workflow therefore looks more like this:
Reference video
↓
Shot breakdown
↓
Visual analysis
↓
Motion + camera analysis
↓
Style extraction
↓
Prompt construction
↓
Generation
↓
Comparison + refinement
This is also why modern AI video workflows increasingly use reference images, frames, ingredients, or existing footage to control visual consistency rather than relying entirely on text. Google, for example, describes using ingredients and starting/ending frames in Flow to give creators more control over characters, objects, styles, and composition.
Step 1: Identify What You Actually Want to Recreate
Before analyzing the video, decide what you're trying to preserve.
There are several possibilities.
1. The visual style
Perhaps you like:
the color palette
film grain
lighting
contrast
lens characteristics
atmosphere
production design
2. The camera movement
Maybe the important part is:
tracking
dolly movement
push-in
pull-out
orbit
handheld movement
crane movement
static framing
3. The subject movement
Perhaps you're interested in:
walking
dancing
running
turning
interacting with an object
facial expressions
product movement
4. The composition
You may want to recreate:
wide shots
close-ups
symmetrical framing
centered subjects
foreground/background relationships
particular camera angles
5. The entire sequence
Sometimes what makes a video impressive isn't one individual shot.
It's the sequence of shots.
In that situation, you need to analyze the reference shot by shot.
Step 2: Break the Video Into Shots
This is one of the most important steps.
Don't treat a 20-second video as one giant scene.
Instead, ask:
Where does one shot end and another begin?
For example:
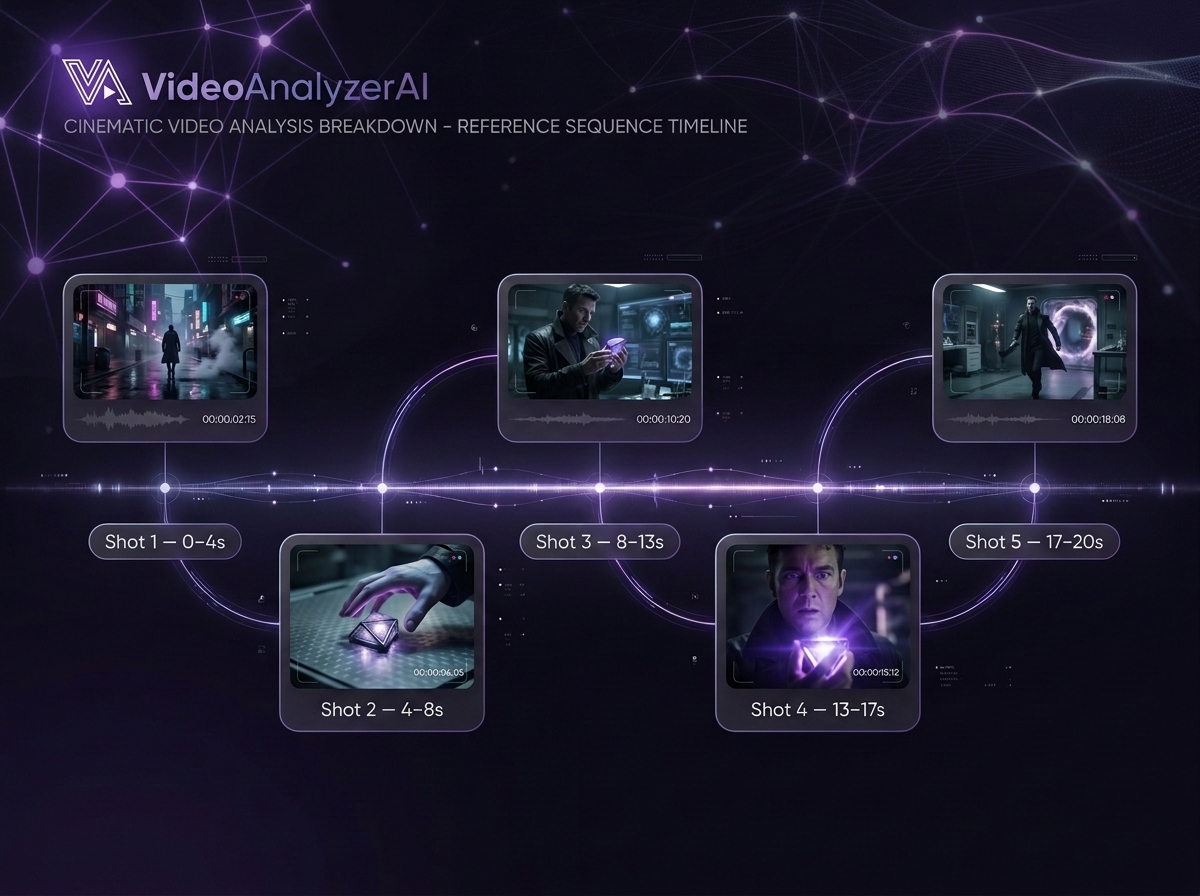
ShotTimeWhat happens10–4 secWide establishing shot24–8 secCamera moves toward subject38–13 secMedium tracking shot413–17 secClose-up517–20 secCamera pulls away
Now you have something much more useful than:
“It's a cinematic video of a person walking.”
You have a visual blueprint.
This shot-by-shot approach is increasingly common in AI video recreation workflows because maintaining pacing, framing, and continuity becomes much easier when the reference is treated as a sequence rather than one undifferentiated clip.
Step 3: Analyze the Subject
For every important shot, identify the subject.
Don't just write:
“A man.”
Be more specific.
Consider:
age range
clothing
body position
hairstyle
expression
pose
orientation
action
interaction with the environment
For example:
A young man wearing a dark oversized jacket walks slowly toward the camera while looking slightly to his left.
That's far more useful than:
A man walking.
But don't add details that aren't actually visible.
Your goal is observation, not invention.
Step 4: Analyze the Environment
Next, examine the world around the subject.
Ask:
Where is the scene?
Is it indoors or outdoors?
What time of day does it appear to be?
What objects are visible?
What is in the foreground?
What is in the background?
Is the environment realistic or stylized?
Is there fog, smoke, rain, dust, or atmosphere?
For example:
A narrow futuristic street surrounded by illuminated buildings, reflective pavement, light fog, and distant pedestrians.
The environment can be just as important as the subject.
A great character placed into the wrong environment can completely change the feeling of a shot.
Step 5: Study the Camera
This is where many AI video prompts become weak.
People often describe the subject but ignore the camera.
Yet the camera is responsible for a huge amount of the video's visual character.
Look for:
Camera angle
eye level
low angle
high angle
overhead
Dutch angle
Framing
extreme wide shot
wide shot
medium shot
medium close-up
close-up
extreme close-up
Camera movement
static
pan
tilt
dolly
tracking
orbit
crane
push-in
pull-out
handheld
Lens characteristics
When you can reasonably infer them, consider:
wide-angle look
telephoto compression
shallow depth of field
deep focus
cinematic bokeh
You don't need to guess an exact lens number if the reference doesn't provide enough evidence.
Describe what you can actually observe.
Step 6: Analyze Motion
Video is not a collection of photographs.
Motion matters.
Ask two separate questions:
What is the subject doing?
For example:
The woman slowly turns her head toward the camera.
What is the camera doing?
For example:
The camera simultaneously performs a slow push-in.
Those are different instructions.
Compare:
A woman turns toward the camera.
with:
A woman slowly turns her head toward the camera as the camera performs a gradual cinematic push-in, maintaining a medium close-up.
The second instruction gives the generation model substantially more information about the intended movement.
Current AI video tools increasingly expose controls around reference footage, motion, frames, and composition because these elements help constrain generation beyond text alone.
Step 7: Extract the Lighting
Lighting can completely change the appearance of an AI-generated scene.
Look for:
direction of the key light
hard or soft lighting
warm or cool tones
backlighting
rim lighting
practical lights
neon lighting
shadows
highlights
contrast
atmospheric light
For example:
Soft warm key light from camera left, subtle blue rim light behind the subject, deep shadows in the background, and a slight atmospheric haze.
That is much more useful than simply saying:
Cinematic lighting.
“Cinematic” is often too vague by itself.
Step 8: Identify the Visual Style
Now ask:
What makes this video look like this particular video?
It could be:
photorealistic
documentary
commercial
fashion film
sci-fi
surreal
vintage
anime-inspired
stop-motion
miniature
dark and atmospheric
high-key studio
gritty
glossy
Also look at:
color grading
texture
contrast
saturation
film grain
sharpness
depth of field
This is what you can think of as the video's visual DNA.
Step 9: Pay Attention to Timing and Pacing
A recreation can contain all the right objects and still feel completely wrong.
Why?
Because the timing is wrong.
Imagine the reference has:
3 seconds of establishing shot
2 seconds of movement
4 seconds of close-up
2 seconds of transition
If your recreation rushes through the sequence in half the time, the emotional impact changes.
That's why shot duration and pacing should be part of your analysis.
Think in terms of:
What happens, when it happens, and how quickly it happens.
Step 10: Build the Recreation Prompt
Once you've analyzed the reference, combine the observations into a structured prompt.
A useful structure is:
Subject + Environment + Action + Camera + Motion + Lighting + Style + Atmosphere + Composition
For example:
A young woman wearing a flowing black coat walks slowly through a rain-soaked futuristic city street at night, surrounded by glowing neon signage and soft atmospheric fog. The camera tracks backward in front of her at walking speed, maintaining a medium shot as reflections shimmer across the wet pavement. She looks slightly to the side while her coat moves naturally in the wind. Soft magenta and cyan practical lights illuminate the environment with subtle rim lighting around her silhouette. Shallow depth of field, realistic skin texture, cinematic contrast, controlled highlights, subtle film grain, atmospheric science-fiction visual style.
Notice something important.
The prompt doesn't just describe what is there.
It describes:
what + where + movement + camera + lighting + style.
That's what makes it useful for recreation.
Don't Try to Recreate Everything in One Prompt
This is another common mistake.
If the reference has multiple distinct shots, forcing everything into one enormous prompt can make the generation less controllable.
Instead, create a prompt for each shot.
Shot 1
Wide establishing shot...
Shot 2
Medium tracking shot...
Shot 3
Close-up...
Shot 4
Slow push-in...
Then generate and assemble the shots.
This approach gives you much more control over pacing and composition.
Reference Images Can Improve Consistency
Text isn't always enough.
If your reference workflow allows images or frames, extracting useful frames from the original video can give the generation model additional visual information.
For example, you might use:
an establishing frame
a character frame
a key environment frame
a starting frame
an ending frame
Google's Flow documentation describes using ingredients and frames to establish characters, objects, styles, and specific starting or ending compositions.
This can be particularly useful when you're trying to maintain:
character appearance
clothing
environment
color palette
composition
visual continuity
Choose the Right Generation Workflow
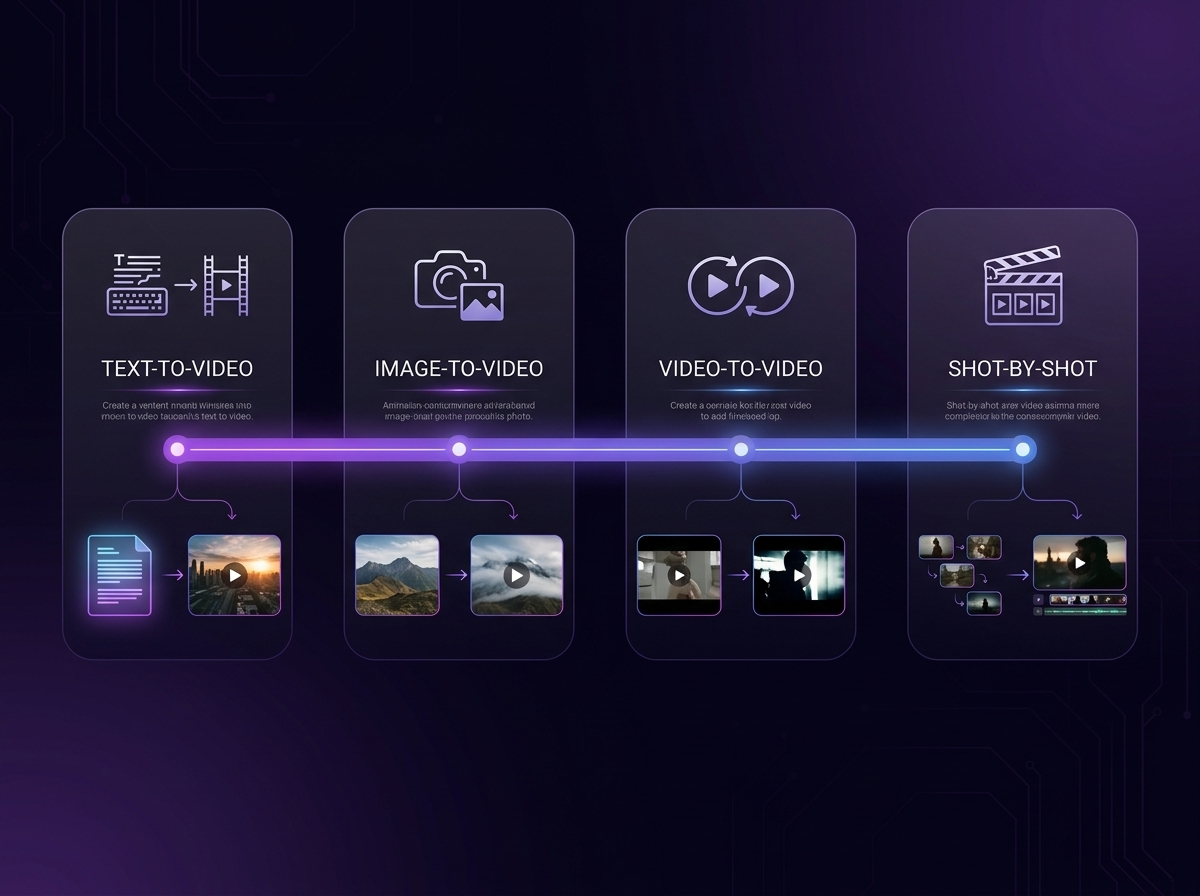
There isn't one universal method for every reference.
You might use:
Text-to-video
Best when you want to recreate the idea and visual language without preserving the original footage.
Image-to-video
Useful when you want stronger control over the starting composition. AI models you can use includes Google flow, Seedance, KlingAI etc.
Video-to-video
Useful when you want to preserve aspects of existing movement or composition while transforming the visual content.
For example, Higgsfield's current video-to-video workflow allows creators to upload existing footage and use prompts to restyle or transform it while preserving aspects such as motion and composition.
Shot-by-shot generation
Best when the reference contains several distinct shots and you want more control over the recreation.
How to Improve a Failed Recreation
Your first generation probably won't be perfect.
That's normal.
Instead of rewriting the entire prompt randomly, identify what went wrong.
Problem: The camera is wrong
Strengthen the camera instruction.
Instead of:
Cinematic shot of a woman walking.
Try:
Slow backward tracking shot maintaining a medium frontal composition as the subject walks toward the camera.
Problem: The subject isn't moving correctly
Describe the movement more precisely.
Instead of:
A man runs.
Try:
The man accelerates forward with natural running motion while his jacket and hair react to the movement.
Problem: The lighting is wrong
Specify:
direction
color
intensity
shadows
atmosphere
Problem: The video looks too generic
Add more information about:
composition
lens characteristics
environment
visual texture
color grading
production design
Problem: The shots don't match
Create stronger reference frames and maintain consistent descriptions of the subject, environment, wardrobe, and style.
The Most Important Principle: Recreate the Visual Decisions, Not Just the Objects
This is the difference between a weak recreation and a convincing one.
A weak analysis says:
“There is a woman standing in a room.”
A stronger analysis says:
“A woman stands slightly off-center in a dim interior while a narrow warm light source illuminates one side of her face. The camera holds a static medium close-up with shallow depth of field, leaving the background softly blurred.”
The first describes the content.
The second describes the visual decision-making.
And that's what you need when you're trying to recreate a reference.
Using AI to Analyze the Reference Video
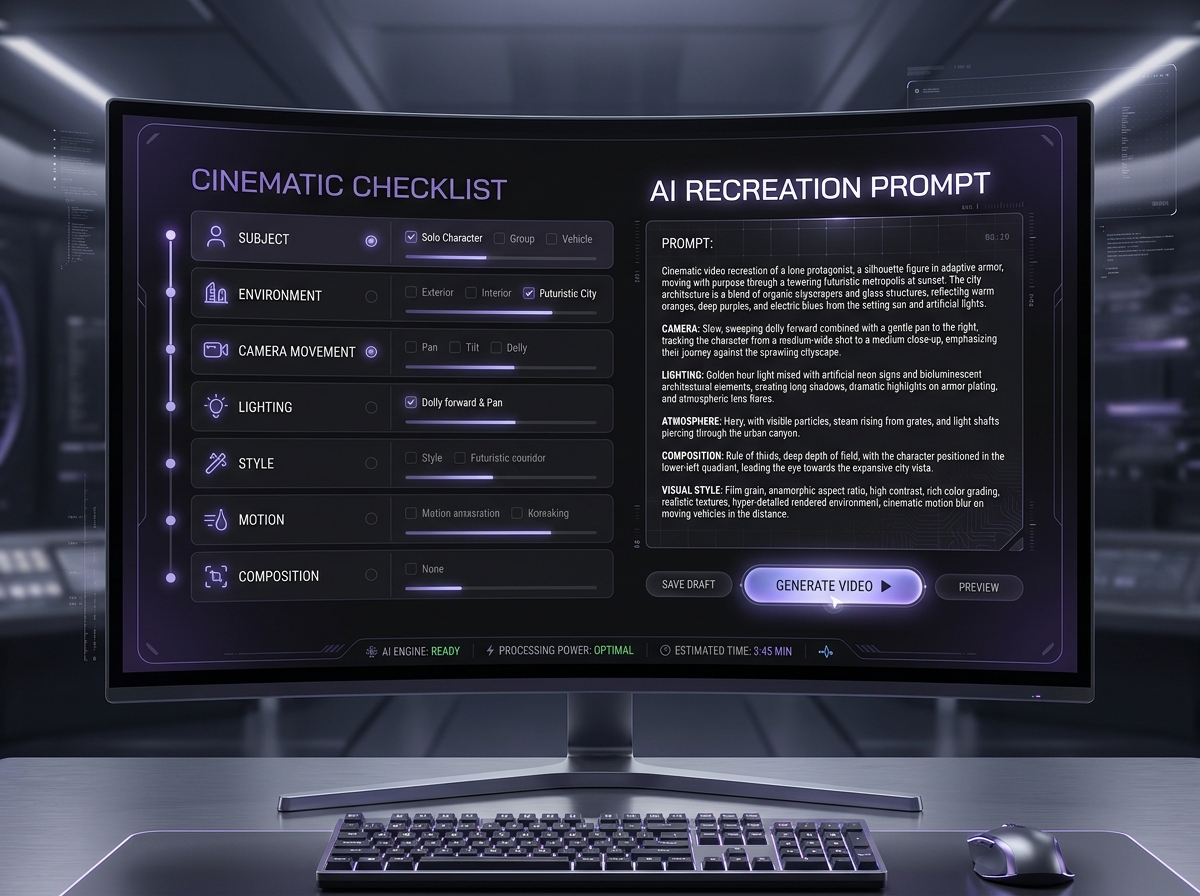
Manually analyzing every shot works, but it becomes increasingly time-consuming as the reference becomes longer or more complex.
A video analysis workflow can help identify:
individual scenes
subjects
actions
camera movement
composition
lighting
environment
visual style
pacing
transitions
important frames
This gives you a structured starting point before you begin writing generation prompts.
That's also where VideoAnalyzerAI fits naturally into the workflow.
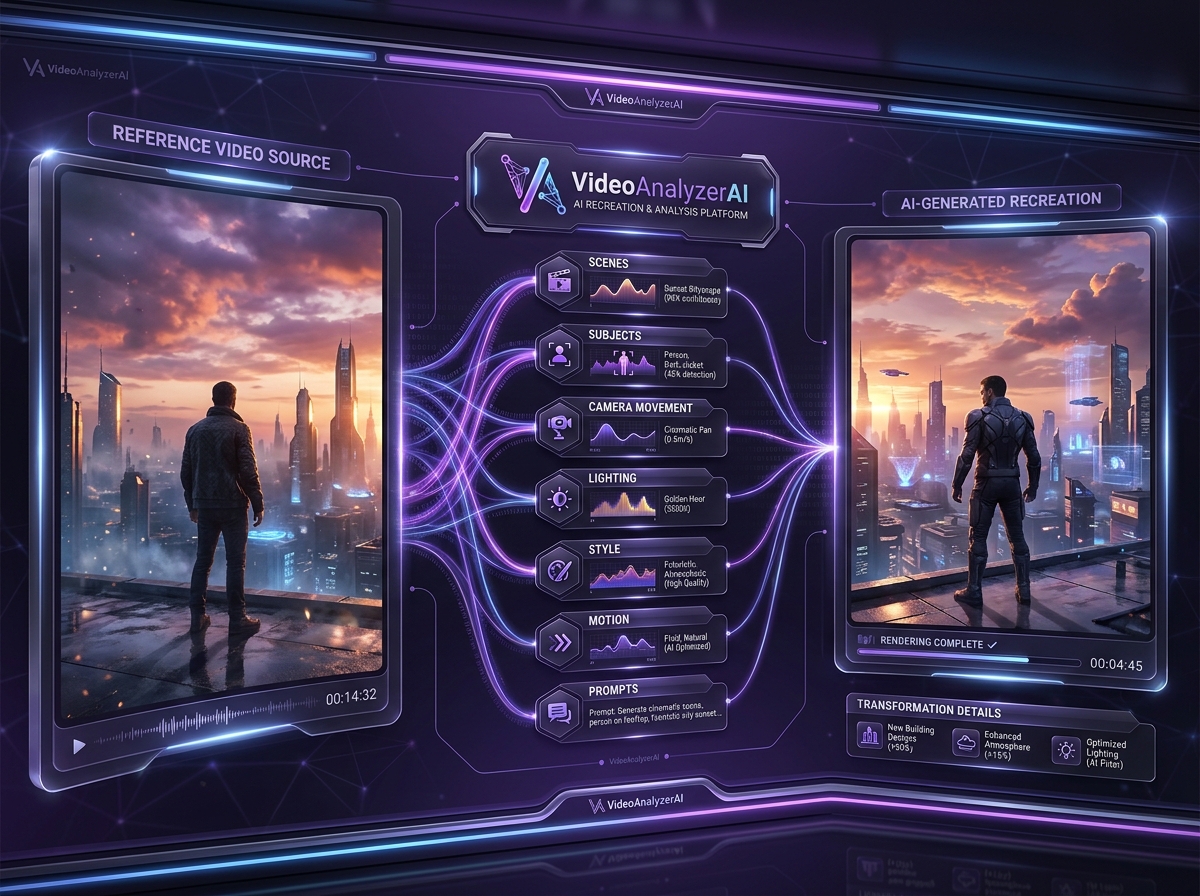
Instead of staring at a reference video repeatedly and trying to remember every detail, you can use VideoAnalyzerAI to analyze the video and turn its visual characteristics into a recreation-oriented breakdown and prompts.
The goal isn't to replace creative judgment.
It's to reduce the tedious reverse-engineering work so you can spend more time creating and refining.
Analyze a reference video with VideoAnalyzerAI
A Practical AI Video Recreation Workflow
If you're recreating a reference video today, here's a simple workflow to follow:
1. Find your reference
Choose a video that clearly demonstrates the visual style, movement, or composition you're interested in.
2. SignUp For VideoAnalyzerAI
VAA then specifically looks out for:
shots
camera
subject
movement
lighting
style
3. Breaks it into shots
Record the approximate start and end of each shot.
4. Extract the visual DNA
Identify the recurring elements that make the video recognizable.
5. Write a prompt for each scene
Don't try to cram an entire multi-shot sequence into one instruction. VAA writes prompt for each scene and for different video creation tools.
6. Choose your generation method
Decide whether text-to-video, image-to-video, video-to-video, or a hybrid workflow makes the most sense.
7. Generate
Create the first version.
8. Compare
Put your generation beside the reference.
Ask:
What's different?
9. Refine one variable at a time
scene.
Change the camera.
Then motion.
Then lighting.
Then style.
Don't randomly rewrite everything.
10. Assemble the final sequence
Once the individual shots are working, combine them into the final video.
Can You Recreate Any Video With AI?
Not perfectly.
AI video generation is still probabilistic, and different models interpret prompts and references differently.
Some scenes are also inherently difficult:
complex interactions
many moving characters
precise choreography
long continuous shots
complicated physics
detailed text
exact facial performance
highly specific object interactions
And there are creative and legal considerations too.
If you're recreating someone else's work, distinguish between learning from visual techniques and reproducing protected creative material too closely. When producing commercial work, make sure you have the appropriate rights to use reference material and avoid presenting someone else's work as your own.
The safest creative approach is often:
Analyze → understand → reinterpret → create.
Rather than:
Copy → reproduce → publish.
Final Takeaway
Recreating an AI video isn't really about finding the perfect magic prompt.
It's about understanding what makes the reference work.
Break it down.
Study the shots.
Understand the subject.
Analyze the camera.
Track the movement.
Study the lighting.
Extract the visual style.
Understand the pacing.
Then turn those observations into structured prompts.
The better your analysis, the better your recreation workflow becomes.
And when the reference gets complicated, using AI to help analyze the footage can dramatically reduce the amount of manual reverse-engineering required.
If you want to turn that process into a structured workflow, VideoAnalyzerAI can analyze your reference video and help turn the visual information into a recreation-ready breakdown and prompts.
Related Reading
If you're starting from the beginning, read our guide on Video to Prompt: How to Turn Any Reference Video Into an AI Video Prompt to learn how reference videos can be converted into structured AI prompts.
Comments
Sign in to leave a comment.
No comments yet — be the first to comment.